How to add Image from Assets in Flutter
A mobile app without images is unimaginable. In this Flutter image example, let’s learn how to show images from assets, that is images that are locally defined inside the project folder.
First of all, create a folder named images inside your Flutter project directory. Now, add an image inside the images folder. After that, open the pubspec.yaml file from your project folder and find the line showing the following comment.
# To add assets to your application, add an assets section, like this:
   # assets:
   #  - images/a_dot_burr.jpeg
Uncomment the last two lines by removing the # symbol and replacing a_dot_burr.jpeg with your image file name. Now it should look like as follows:
  assets:
   - images/girl.png
Make sure that the spacing before the code starts is correct otherwise it will cause an error.
You have added the image and now in the code, you have to use Image.asset constructor. It allows you to load images from assets. See the code snippet given below.
Image.asset(
          'images/girl.png',
          width: 400,
          height: 400,
        )
Go through the complete code given below.
import 'package:flutter/material.dart';

void main() {
  runApp(const MyApp());
}

class MyApp extends StatelessWidget {
  const MyApp({super.key});

  // This widget is the root of your application.
  @override
  Widget build(BuildContext context) {
    return MaterialApp(
      title: 'Flutter Demo',
      theme: ThemeData(
        primarySwatch: Colors.blue,
      ),
      home: const MyHomePage(),
    );
  }
}

class MyHomePage extends StatelessWidget {
  const MyHomePage({super.key});

  @override
  Widget build(BuildContext context) {
    return Scaffold(
        appBar: AppBar(
          title: const Text('Flutter Image from URL'),
        ),
        body: Center(
            child: Image.asset(
          'images/girl.png',
          width: 400,
          height: 400,
        )));
  }
}
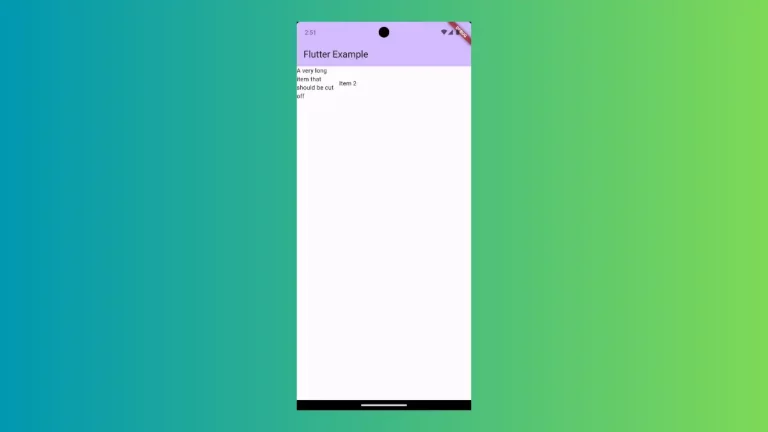
The output of this Flutter image from assets example is given below.

That’s how you display images from assets in Flutter.
If you want to show images from the internet then see this tutorial- how to display images from URL in Flutter.

One Comment