How to Add Icon inside TextField in Flutter
TextField is a very important widget in Flutter. Having an icon inside TextField can help users to identify the content to enter in it. Let’s see how to add an icon inside the TextField in Flutter.
The InputDecoration class helps you to style the TextField. Its icon property allows you to add an icon in the TextField.
TextField(
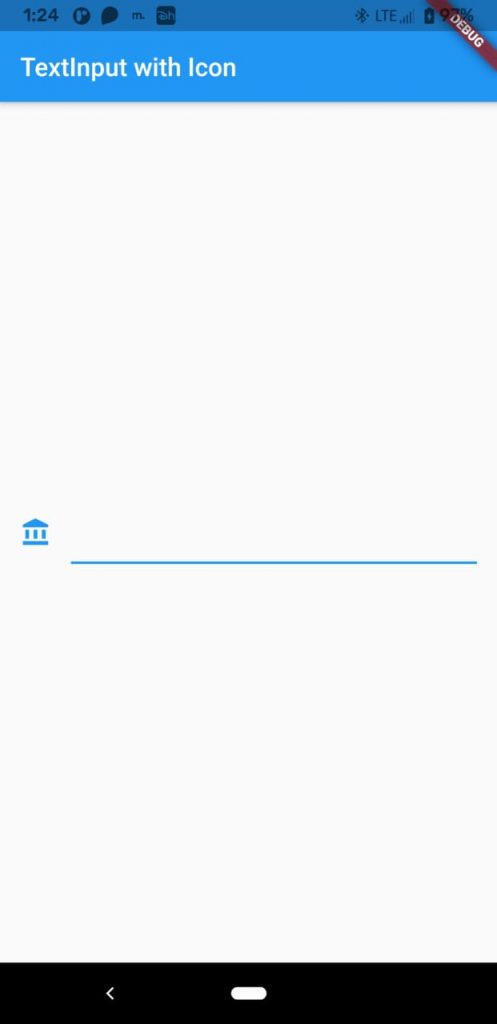
decoration: const InputDecoration(icon: Icon(Icons.account_balance)),
controller: _controller,
onSubmitted: (String value) {
debugPrint(value);
},
),As you see in the following screenshot, the icon is really outside of TextField.
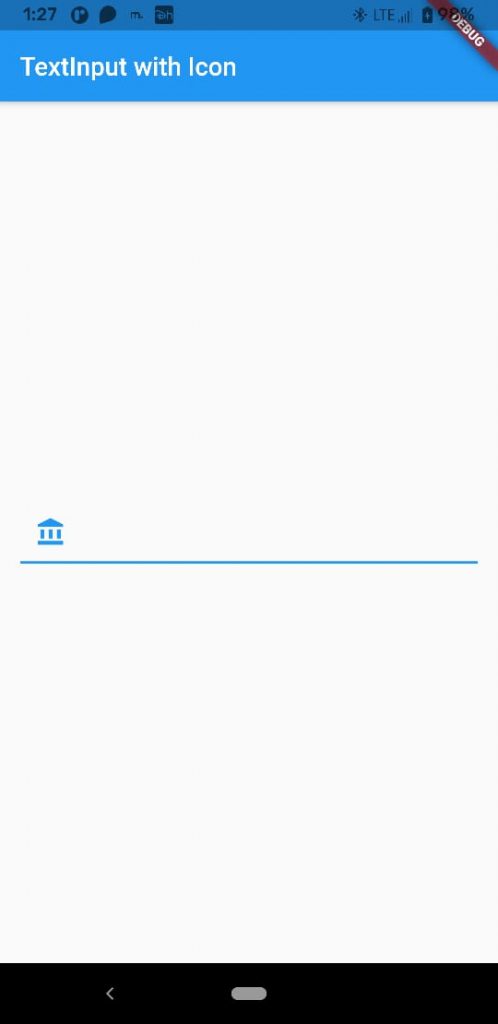
If you want to place the icon exactly inside the TextInput then use the prefixIcon property.
TextField(
        decoration:
            const InputDecoration(prefixIcon: Icon(Icons.account_balance)),
        controller: _controller,
        onSubmitted: (String value) {
          debugPrint(value);
        },
      ),
And you get the output as given below.
Following is the complete Flutter code to add an icon inside the TextField.
import 'package:flutter/material.dart';

void main() {
  runApp(const MyApp());
}

class MyApp extends StatelessWidget {
  const MyApp({super.key});

  @override
  Widget build(BuildContext context) {
    return MaterialApp(
      title: 'Flutter Demo',
      theme: ThemeData(
        primarySwatch: Colors.blue,
      ),
      home: const MyHomePage(),
    );
  }
}

class MyHomePage extends StatelessWidget {
  const MyHomePage({super.key});

  @override
  Widget build(BuildContext context) {
    return Scaffold(
        appBar: AppBar(
          title: const Text('Flutter TextField with icon'),
        ),
        body: const MyStatefulWidget());
  }
}

class MyStatefulWidget extends StatefulWidget {
  const MyStatefulWidget({super.key});

  @override
  State<MyStatefulWidget> createState() => _MyStatefulWidgetState();
}

class _MyStatefulWidgetState extends State<MyStatefulWidget> {
  late TextEditingController _controller;

  @override
  void initState() {
    super.initState();
    _controller = TextEditingController();
  }

  @override
  void dispose() {
    _controller.dispose();
    super.dispose();
  }

  @override
  Widget build(BuildContext context) {
    return Center(
        child: Padding(
      padding: const EdgeInsets.all(16.0),
      child: TextField(
        decoration:
            const InputDecoration(prefixIcon: Icon(Icons.account_balance)),
        controller: _controller,
        onSubmitted: (String value) {
          debugPrint(value);
        },
      ),
    ));
  }
}
I hope this Flutter tutorial will be helpful for you.