How to Add an Elevated Button in Flutter
Flutter has made the RaisedButton class obsolete and it recommends using ElevatedButton class. In this blog post, let’s check how to create a button using ElevatedButton class.
An elevated button is a button that is based on the material design. Its elevation increases when the button is pressed. It has a default style and you can change it by using its style property. Following is the code snippet for a simple elevated button in Flutter.
ElevatedButton(onPressed: () {},
               child: const Text('Elevated Button'))
Following is the complete Flutter Elevated Button example.
import 'package:flutter/material.dart';

void main() {
  runApp(const MyApp());
}

class MyApp extends StatelessWidget {
  const MyApp({super.key});

  // This widget is the root of your application.
  @override
  Widget build(BuildContext context) {
    return MaterialApp(
      title: 'Flutter Demo',
      theme: ThemeData(
        primarySwatch: Colors.blue,
      ),
      home: const MyHomePage(),
    );
  }
}

class MyHomePage extends StatelessWidget {
  const MyHomePage({super.key});

  @override
  Widget build(BuildContext context) {
    return Scaffold(
        appBar: AppBar(
          title: const Text(
            'Flutter Elevated Button Example',
          ),
        ),
        body: Center(
            child: ElevatedButton(
                style: ElevatedButton.styleFrom(elevation: 10),
                onPressed: () {},
                child: const Text('Elevated Button'))));
  }
}
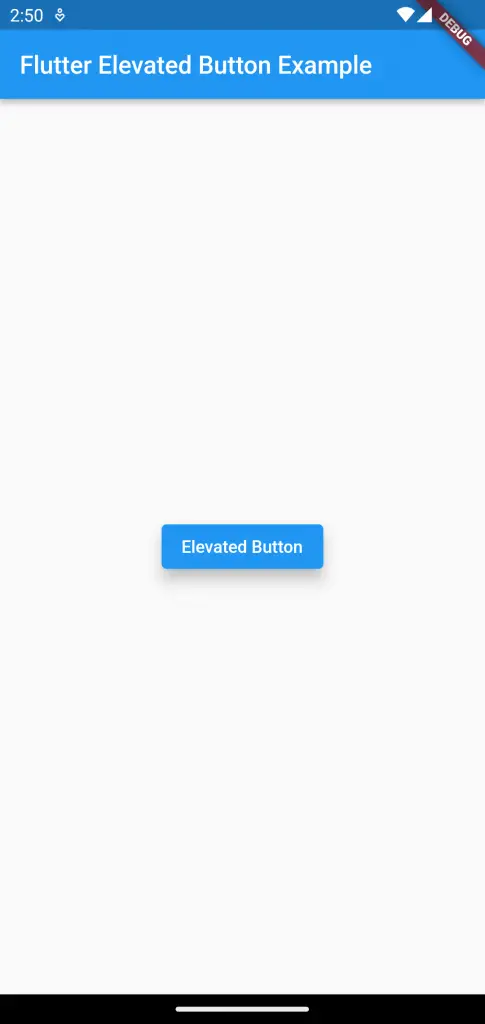
The style property and styleFrom method can be used together to change the default style of ElevatedButton. Here, I used them to change the default elevation of the elevated button. Following is the output of this flutter elevated button example.
You can do further customizations to ElevatedButton easily using various properties and styles. For example, you can create ElevatedButton with icons and text, ElevatedButton with rounded corners, ElevatedButton with different border colors, etc.
Your content is very nice and theme also very good. May i know i your are refreshing your Ads, could you pls share info about your ads. I want to start a blog regarding programming languages. It will be more helpful if you share info about your ads