How to add a Stateful Widget in Flutter
I used Stateless widgets in most of my previous Flutter tutorials. In this tutorial, let’s see how to add a Stateful widget in Flutter.
A Flutter widget can be either stateless or stateful. A stateless widget is static and never changes whereas a stateful widget is dynamic. The stateful widget can change itself. It uses a State object where values that can be changed are stored. Using the setState() method the values stored in the State object can be changed and it results in the redraw of the widget.
Following is the basic structure of a Stateless widget.
class MyHomePage extends StatefulWidget {
  const MyHomePage({super.key});

  @override
  State<MyHomePage> createState() => _MyHomePageState();
}

class _MyHomePageState extends State<MyHomePage> {

  }
Yes, MyHomePage extends subclass StatefulWidget whereas createState() returns an instance of _MyHomePageState class.
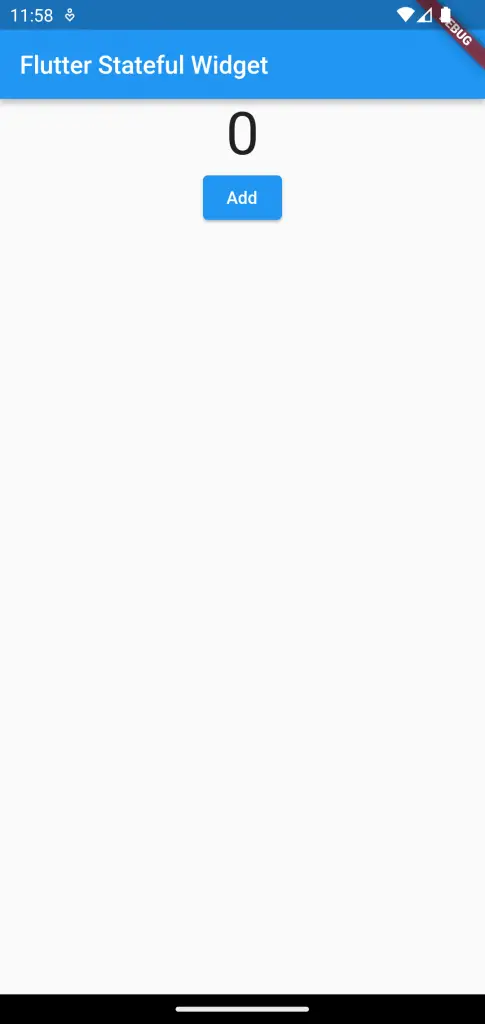
Now, let’s move on to a real case of State usage for better understanding. In the following Flutter Stateful widget example, we have the text and a button. When the button is pressed the text shows how many times the button is pressed.
import 'package:flutter/material.dart';

void main() {
  runApp(const MyApp());
}

class MyApp extends StatelessWidget {
  const MyApp({super.key});
  @override
  Widget build(BuildContext context) {
    return MaterialApp(
      title: 'Flutter Demo',
      theme: ThemeData(
        primarySwatch: Colors.blue,
      ),
      home: const MyHomePage(),
    );
  }
}

class MyHomePage extends StatefulWidget {
  const MyHomePage({super.key});

  @override
  State<MyHomePage> createState() => _MyHomePageState();
}

class _MyHomePageState extends State<MyHomePage> {
  int _counter = 0;

  void add() {
    setState(() {
      _counter++;
    });
  }

  @override
  Widget build(BuildContext context) {
    return Scaffold(
      appBar: AppBar(
        title: const Text('Flutter Stateful Widget'),
      ),
      body: Center(
        child: Column(children: <Widget>[
          Text('$_counter', style: const TextStyle(fontSize: 48)),
          ElevatedButton(
            onPressed: () {
              add();
            },
            child: const Text('Add'),
          ),
        ]), // This trailing comma makes auto-formatting nicer for build methods.
      ),
    );
  }
}
Look closely at the add() function. It uses setState() to change the value of the variable _counter. As a result, each time the value of _counter is changed the widget is redrawn with the new value of _counter. Check the output of the Flutter example below.
I hope you find this tutorial on the Flutter stateful widget helpful.


One Comment