How to Create a ListView in Flutter
In Flutter, when it comes to scrolling- finite or infinite, you should use the ListView widget. The ListView is a scrolling widget that facilitates scrolling through its filled children. In this blog post, let’s discuss how to use ListView properly in Flutter.
ListView for Finite Items
If the children are very limited or very few then you should use ListView as given below.
ListView(
  children: <Widget>[
    Container(
      height: 200,
      color: Colors.red,
    ),
    Container(
      height: 300,
      color: Colors.green,
    ),
    Container(
      height: 400,
      color: Colors.orange,
    ),
    Container(
      height: 500,
      color: Colors.blue,
    ),
  ],
)
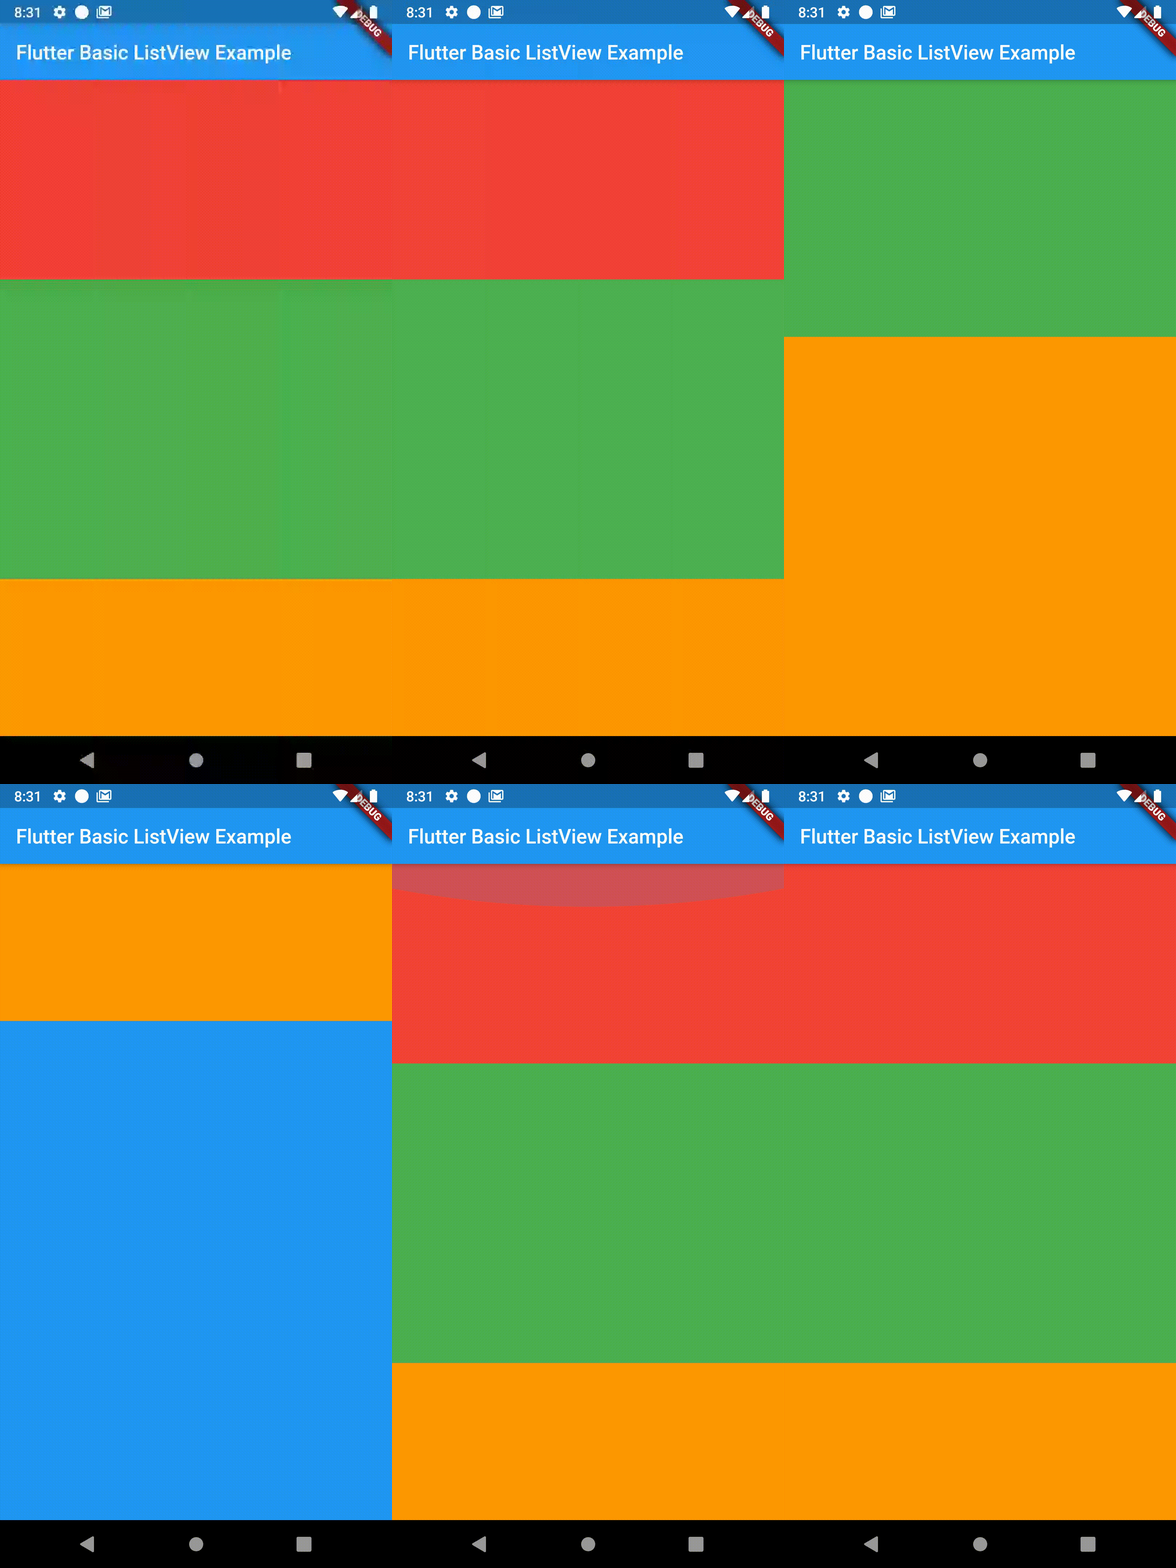
As you see, the ListView widget has three children which are containers of various heights. Following is the complete example of Flutter ListView with a finite number of items.
import 'package:flutter/material.dart';

void main() {
  runApp(const MyApp());
}

class MyApp extends StatelessWidget {
  const MyApp({super.key});

  // This widget is the root of your application.
  @override
  Widget build(BuildContext context) {
    return MaterialApp(
      title: 'Flutter Demo',
      theme: ThemeData(
        primarySwatch: Colors.blue,
      ),
      home: const MyHomePage(),
    );
  }
}

class MyHomePage extends StatelessWidget {
  const MyHomePage({super.key});

  @override
  Widget build(BuildContext context) {
    return Scaffold(
        appBar: AppBar(
          title: const Text(
            'Flutter Basic ListView Examplee',
          ),
        ),
        body: ListView(
          children: <Widget>[
            Container(
              height: 200,
              color: Colors.red,
            ),
            Container(
              height: 300,
              color: Colors.green,
            ),
            Container(
              height: 400,
              color: Colors.orange,
            ),
            Container(
              height: 500,
              color: Colors.blue,
            ),
          ],
        ));
  }
}
Here’s the output of the Flutter example.
ListView for Infinite Items
When the lists are infinite or too many, you should use the ListView.builder constructor for better performance and smooth scrolling. Using IndexedWidgetBuilder, you can build children on demand. It’s pretty similar to react native’s FlatList or Android’s RecyclerView.
You can use ListView.builder as given below.
ListView.builder(
  itemCount: data.length,
  itemBuilder: (BuildContext context, int index) {
    return Container(
      height: 150,
      color: Colors.white,
      child: Center(child: Text('${data[index]}')),
    );
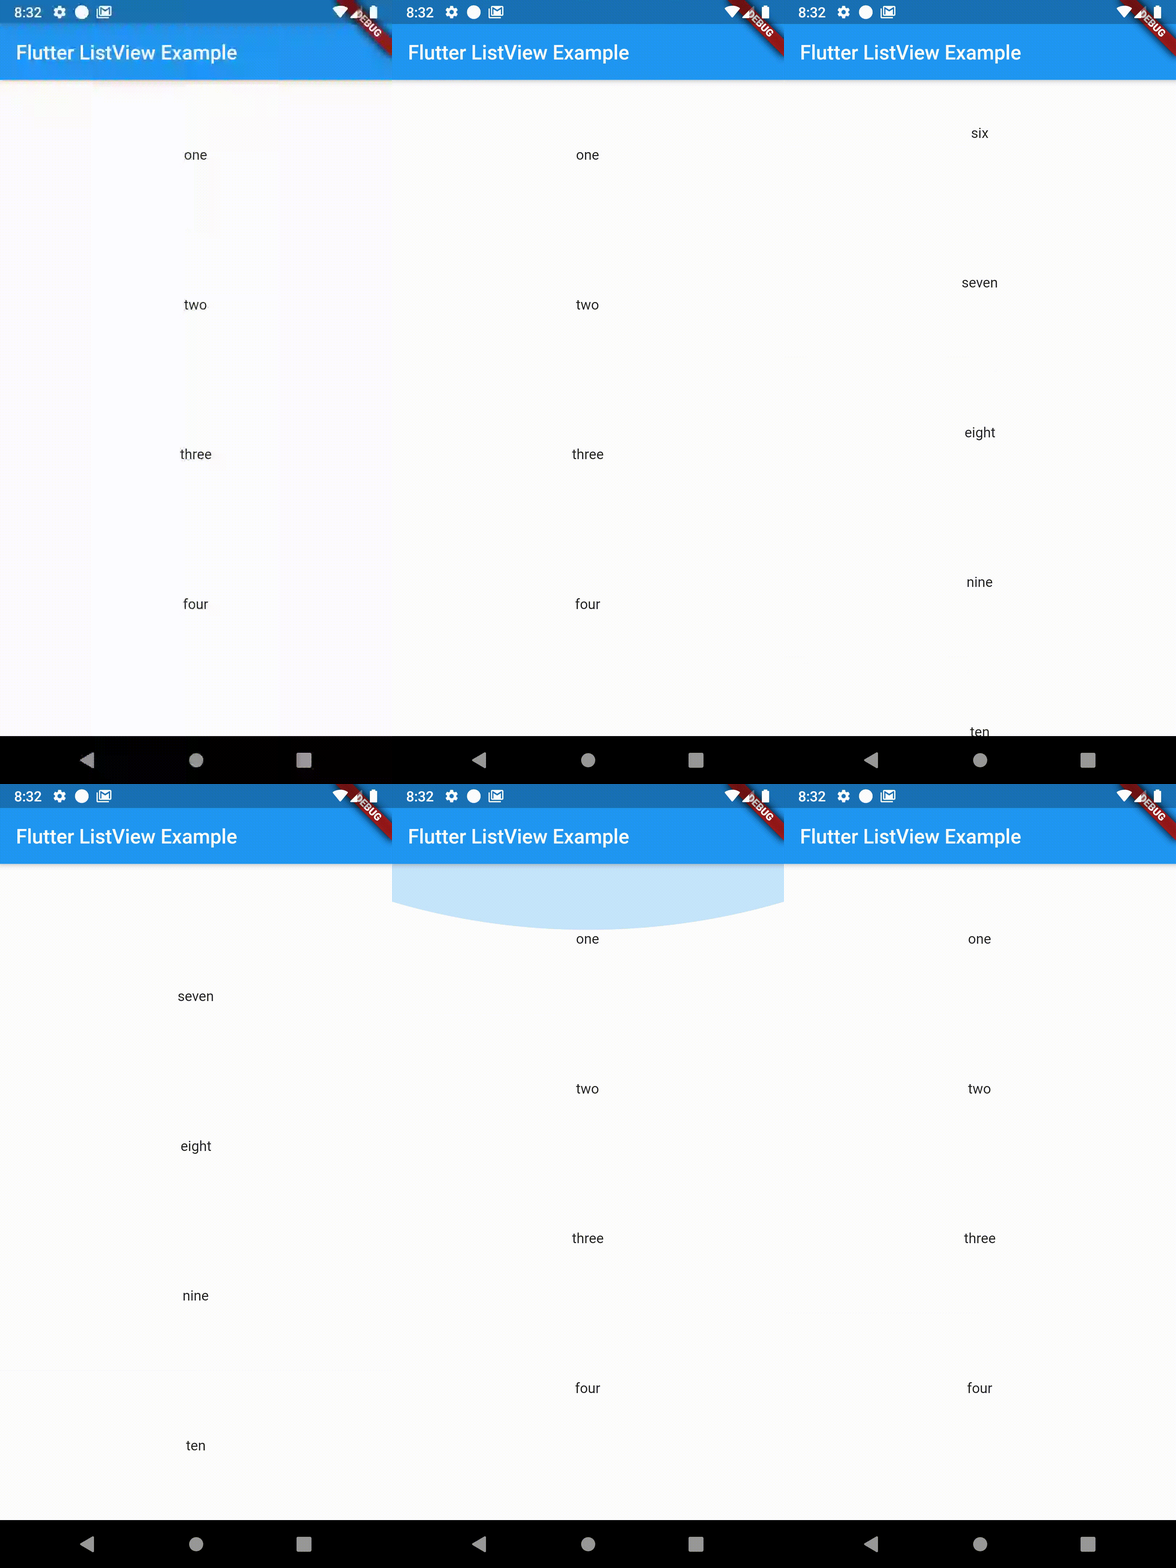
As you observed, the children widget is passed to the itemBuilder. Go through the following Flutter ListView example below for a better understanding.
import 'package:flutter/material.dart';

void main() {
  runApp(const MyApp());
}

class MyApp extends StatelessWidget {
  const MyApp({super.key});

  // This widget is the root of your application.
  @override
  Widget build(BuildContext context) {
    return MaterialApp(
      title: 'Flutter Demo',
      theme: ThemeData(
        primarySwatch: Colors.blue,
      ),
      home: MyHomePage(),
    );
  }
}

class MyHomePage extends StatelessWidget {
  final data = [
    "one",
    "two",
    "three",
    "four",
    "five",
    "six",
    "seven",
    "eight",
    "nine",
    "ten"
  ];
  MyHomePage({super.key});

  @override
  Widget build(BuildContext context) {
    return Scaffold(
        appBar: AppBar(
          title: const Text(
            'Flutter ListView Example',
          ),
        ),
        body: ListView.builder(
            itemCount: data.length,
            itemBuilder: (BuildContext context, int index) {
              return Container(
                height: 150,
                color: Colors.white,
                child: Center(child: Text(data[index])),
              );
            }));
  }
}
Here’s the output of the example.
If you want to create a ListView with a separator or divider then see this Flutter tutorial.
You can also get dynamic content from API and display them through ListView.
I hope you liked this Flutter tutorial on ListView. Thank you for reading!

5 Comments