How to Add Checkbox in Flutter
A checkbox is an important component to get input from the user. In Flutter, a checkbox can be implemented using the Checkbox widget.
Even though the Checkbox widget doesn’t have its own state, the widget calls the onChanged callback. The checkbox can be added as given below.
Checkbox(
            value: checkBoxValue,
            activeColor: Colors.green,
            onChanged: (bool? newValue) {
              setState(() {
                checkBoxValue = newValue!;
              });
            })
The complete code for the Flutter checkbox example is given below.
import 'package:flutter/material.dart';

void main() {
  runApp(const MyApp());
}

class MyApp extends StatelessWidget {
  const MyApp({super.key});

  @override
  Widget build(BuildContext context) {
    return MaterialApp(
      title: 'Flutter Demo',
      theme: ThemeData(
        primarySwatch: Colors.blue,
      ),
      home: const MyHomePage(),
    );
  }
}

class MyHomePage extends StatelessWidget {
  const MyHomePage({super.key});

  @override
  Widget build(BuildContext context) {
    return Scaffold(
        appBar: AppBar(
          title: const Text('Flutter Checkbox Example'),
        ),
        body: const MyStatefulWidget());
  }
}

class MyStatefulWidget extends StatefulWidget {
  const MyStatefulWidget({super.key});

  @override
  State<MyStatefulWidget> createState() => _MyStatefulWidgetState();
}

class _MyStatefulWidgetState extends State<MyStatefulWidget> {
  bool checkBoxValue = false;

  @override
  Widget build(BuildContext context) {
    return Center(
        child: Checkbox(
            value: checkBoxValue,
            activeColor: Colors.green,
            onChanged: (bool? newValue) {
              setState(() {
                checkBoxValue = newValue!;
              });
            }));
  }
}
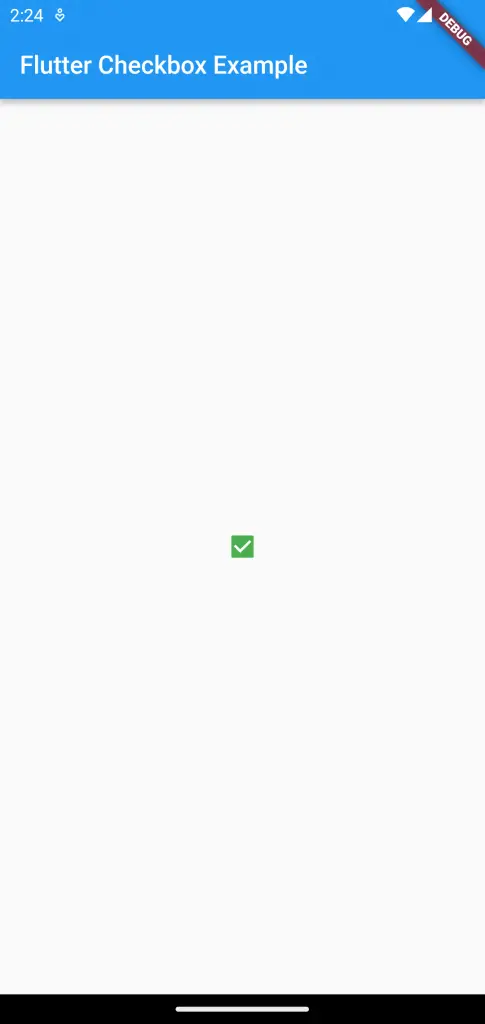
The output of the flutter checkbox example is given below.
Flutter Checkbox with Text
In case, if you want a checkbox with a label then you can use the CheckboxListTile widget. You can use it as given below.
CheckboxListTile(
            title: const Text('This is the checkbox with label'),
            value: checkBoxValue,
            activeColor: Colors.green,
            onChanged: (bool? newValue) {
              setState(() {
                checkBoxValue = newValue!;
              });
            })
Following is the complete code for the checkbox with a label in Flutter.
import 'package:flutter/material.dart';

void main() {
  runApp(const MyApp());
}

class MyApp extends StatelessWidget {
  const MyApp({super.key});

  @override
  Widget build(BuildContext context) {
    return MaterialApp(
      title: 'Flutter Demo',
      theme: ThemeData(
        primarySwatch: Colors.blue,
      ),
      home: const MyHomePage(),
    );
  }
}

class MyHomePage extends StatelessWidget {
  const MyHomePage({super.key});

  @override
  Widget build(BuildContext context) {
    return Scaffold(
        appBar: AppBar(
          title: const Text('Flutter Checkbox Example'),
        ),
        body: const MyStatefulWidget());
  }
}

class MyStatefulWidget extends StatefulWidget {
  const MyStatefulWidget({super.key});

  @override
  State<MyStatefulWidget> createState() => _MyStatefulWidgetState();
}

class _MyStatefulWidgetState extends State<MyStatefulWidget> {
  bool checkBoxValue = false;

  @override
  Widget build(BuildContext context) {
    return Center(
        child: CheckboxListTile(
            title: const Text('This is the checkbox with label'),
            value: checkBoxValue,
            activeColor: Colors.green,
            onChanged: (bool? newValue) {
              setState(() {
                checkBoxValue = newValue!;
              });
            }));
  }
}
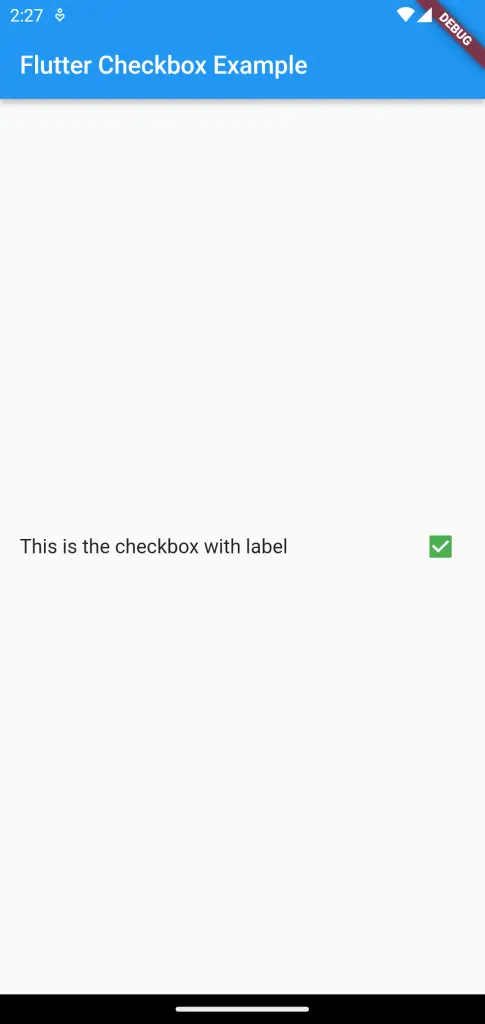
You will get the following output.
I hope this Flutter tutorial will help you. Stay tuned for more Flutter tutorials.
One Comment